Exercise Walkthroughs: Overview
Exercise Walkthroughs bring the class together to review the exercise as a group. With the connected exercise checklist visible on a screen or projector, the class will walk through one student’s work and review how that student executed the tasks assigned.
Exercises Walkthroughs serve several purposes:
Keep the class aligned and moving at the same pace.
Expose students to different ways of utilizing the skills and tools covered in the exercise by reviewing each other's’ work.
Ensure accountability. Students should not know who will be walking the class through their work. It could be anyone!
We recommend utilizing this spreadsheet to keep track of which students have led the class through a walkthrough. The A-column lists each exercise for each unit and the B-column is empty. Please add your students’ names
Students should share their Ableton files, being sure to “collect all and save” before sharing their Ableton Project Folders. See below for info on sharing files. After playing what they did and explaining their work, students are encouraged to ask questions.
While not as formal as a Listening Party described on the slides that follow, an Exercise Walkthroughs should also be a safe space where students are respectful and supportive of each other at all times.
Listening Parties: Overview
We recommend that students share their work with the class in a listening party at the end of each project. These group listening sessions are the secret sauce of what makes a really great music production and composition class click. But they must be set up and executed correctly for the magic to happen.
These expectations must be clearly expressed and consistently enforced:
A listening party is a safe space.
Everyone must show respect by giving their peers’ music their full attention and keeping all criticism constructive and supportive.
Students are expected to participate in the creative discourse around each other’s work.
The teacher models how to participate by getting the discussion started.
The teacher asks two questions:
What was something that worked well in the piece?
Where is there room for improvement?
No “good” or “bad”, only statements of meaning.
Inspiration instead of intimidation leads to more authentic participation in all activities.
A listening party can foster internal motivation where students are inspired by each other.
Students are much more likely to do their best work if they know their friends are going to hear it.
We recommend listening to every student’s project. But, if a class is too big, there are variety of strategies you can use:
Split students into groups and only listen to one group for each project
Listen to only one minute of each student’s project
Students upload their work to the LMS and students listen to projects on their own.
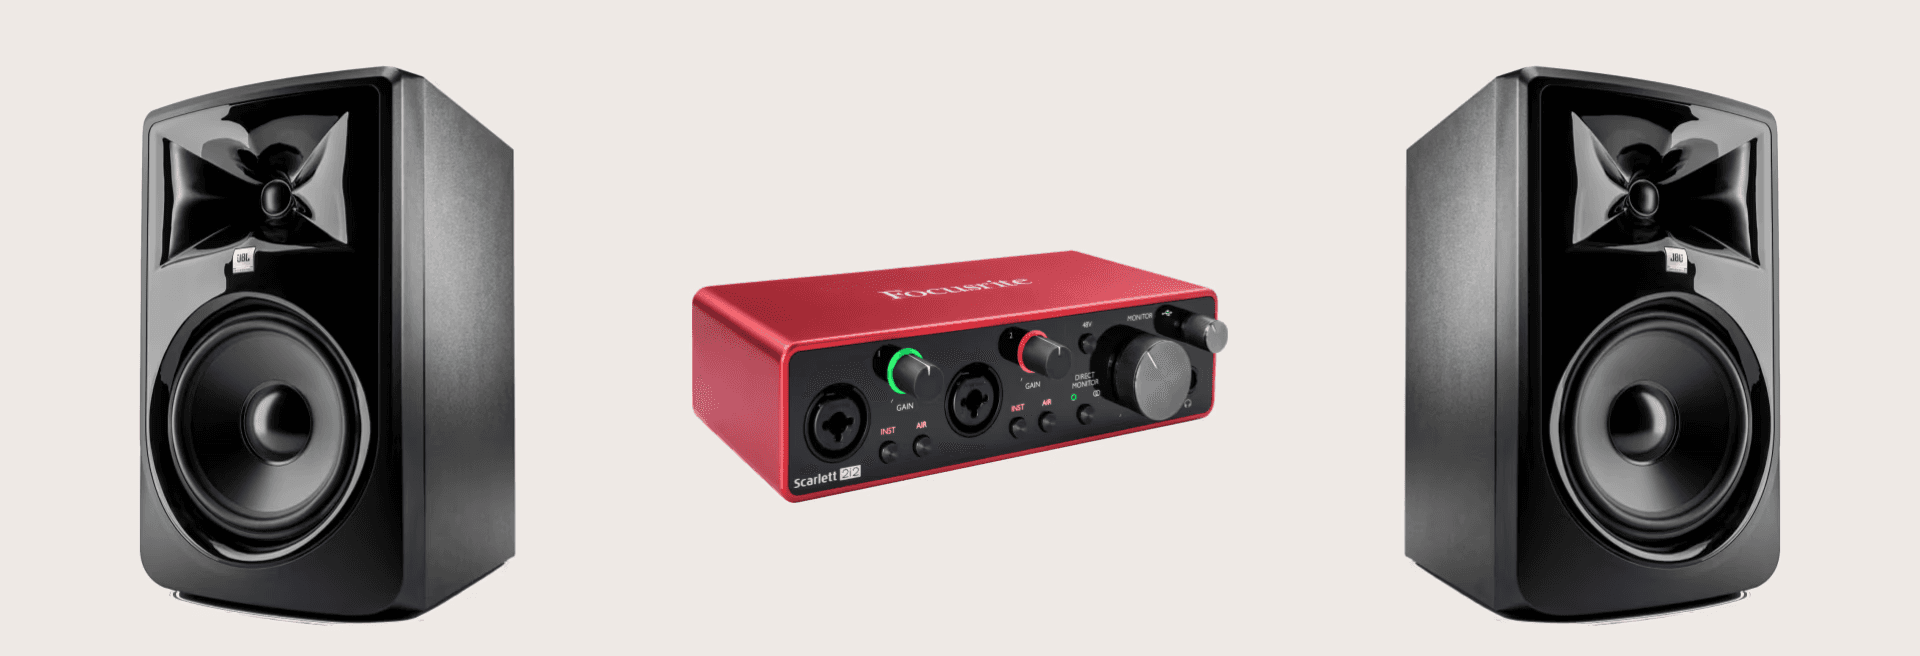
Good sound goes a long way! We recommend a good pair of speakers and an audio interface if possible:
JBL 306P MKII: $159 each
Focusrite Scarlett 2i2: $179
Listening Parties: Deep Dive
THREE RULES
All phones, headphones, computers, and other devices must be put away.
All students must remain quiet when music is being played and when they are not giving feedback.
All songs must get a round of applause before and after they are played!
EXPECTATIONS
RESPECT:
A creative community is built on a foundation of respect.
We expect 100% respect for 100% of the students!
ACTIVE LISTENING:
Great musicians and producers must be good listeners!
In order to actively listen, students must put away all phones, headphones, computers, and other devices and remain quiet.
CONSTRUCTIVE FEEDBACK:
Good feedback encourages other musicians and provides actionable items that help them make their music better.
When sharing feedback, avoid words like, “good” or “bad.”
Share specific things that you observed or how something made you feel rather than your personal opinion.
VARIATIONS
Anonymous Listening Party:
Helps students grow more comfortable with listening parties.
Demonstrates that this is a safe space for sharing their creativity, opinions, and critiques.
Standard Listening Party Presentation Styles:
Full Presentation:
The student stands at the front of the room and introduces themselves and their song/project.
Teacher Announces the Artist:
The teacher will announce the student/artist’s name and then play their song.
The teacher will then call on student volunteers for feedback on the song.
Listening Gallery:
Students leave laptops on their desk with the Ableton Live project open, headphones plugged in, and a piece of paper for feedback.
Students move around the room and listen to different projects and leave their written feedback.
At the end students share with the class the feedback they found most helpful.
Group Listening Party:
Students are placed into groups to share their projects amongst themselves.
Making use of the collaboration feature or headphone splitters is common so multiple students can listen with their headphones.
Feedback Variations:
Written Feedback, Giving:
Listeners write down their feedback and it is delivered to the student/artist who’s song was played.
Written Feedback, Receiving:
The student/artist who is presenting their song takes notes of all the feedback they receive after playing their song for the class.
This can be taken even further by asking them the question “how do you plan on using this feedback for your next project?”
Ear Training:
Instead of providing feedback, students analyze the song to listen for specific elements or assignment requirements.
Examples: “Listen to see if you can hear…”
Smaller subdivisions in this song.
An A section and a B section.
A bass, synth, and drums.
FEEDBACK QUESTIONS
What is working well in the music?
Sentence starters:
I like how you did _____ with the _____.
The _____ made me feel _____.
Where is there room for improvement?
Sentence starters:
If I was the producer, I would have done _____.
I like how you did _______, but I would try ________ next time.
SHARING FILES
There are many different ways to configure a file sharing system for exercise walkthroughs and listening parties, falling into either online or offline modes:
ONLINE
Google Drive, Dropbox, or Other Online Storage Tools
Teacher creates a shared folder with open permissions.
Learning Management Systems
Teacher creates an assignment on LMS and students upload there.OFFLINE
Class External Hard Drive
Students upload their projects to a hard drive.
In general, we recommend utilizing an online tool to avoid wasted time uploading to an external hard drive. However, if a school has shaky internet access, a hard drive can actually speed things up.
No matter where files are shared on or offline, students must “collect all and save” and share their whole Ableton Project Folder. See the “Saving and Exporting” Basics of the Basics video for more information.